*If you're returning from a break in setting up your tournament's website:
1. Go to your tournament's URL and log in.
2. Click Administration.
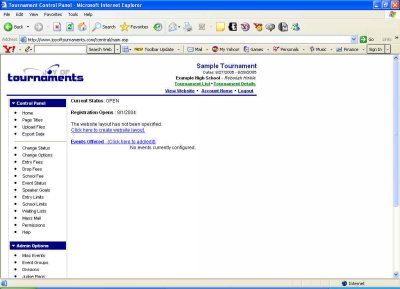
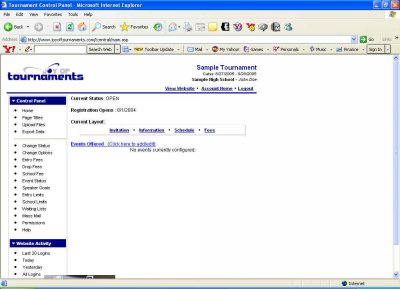
You should be looking at a page similar to this one:
You'll see that at this point your tournament is listed as Closed. That's because we haven't set it up and opened it to the public yet. A few lines beneath that you'll see a blue link that says Click here to create website layout. Click on that sentence. Now you'll be on a page entitled Page Titles, which looks like this.
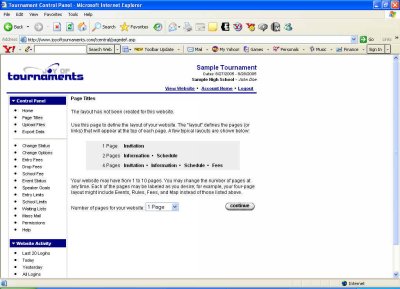
This is where you need to decide how many pages of information you'd like to share with other coaches about your tournament. Some tournament hosts prefer to post only a copy of the invitation. Some want to post tournament information, as well as a schedule. The most common configuration is to post an Invitation, an Information page, the Schedule, and the Fees.
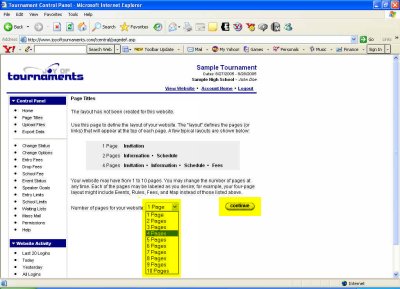
When you've decided how many separate pages of information you'd like to post, click on the down arrow of the drop-down box and select the appropriate number. Then click Continue.
Now you have the chance to name those pages. In the appropriate boxes type the names you wish to give your pages in the order in which you want them to appear.
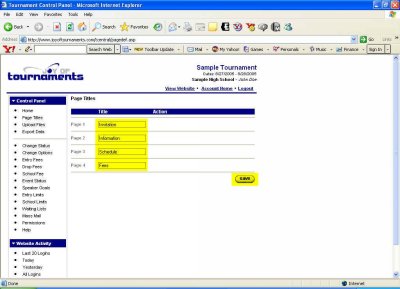
Once you've named all of your pages click Save. You'll now see a page that lists in blue type the names of your information pages.
If you're ready to move on, let's Edit those pages.